
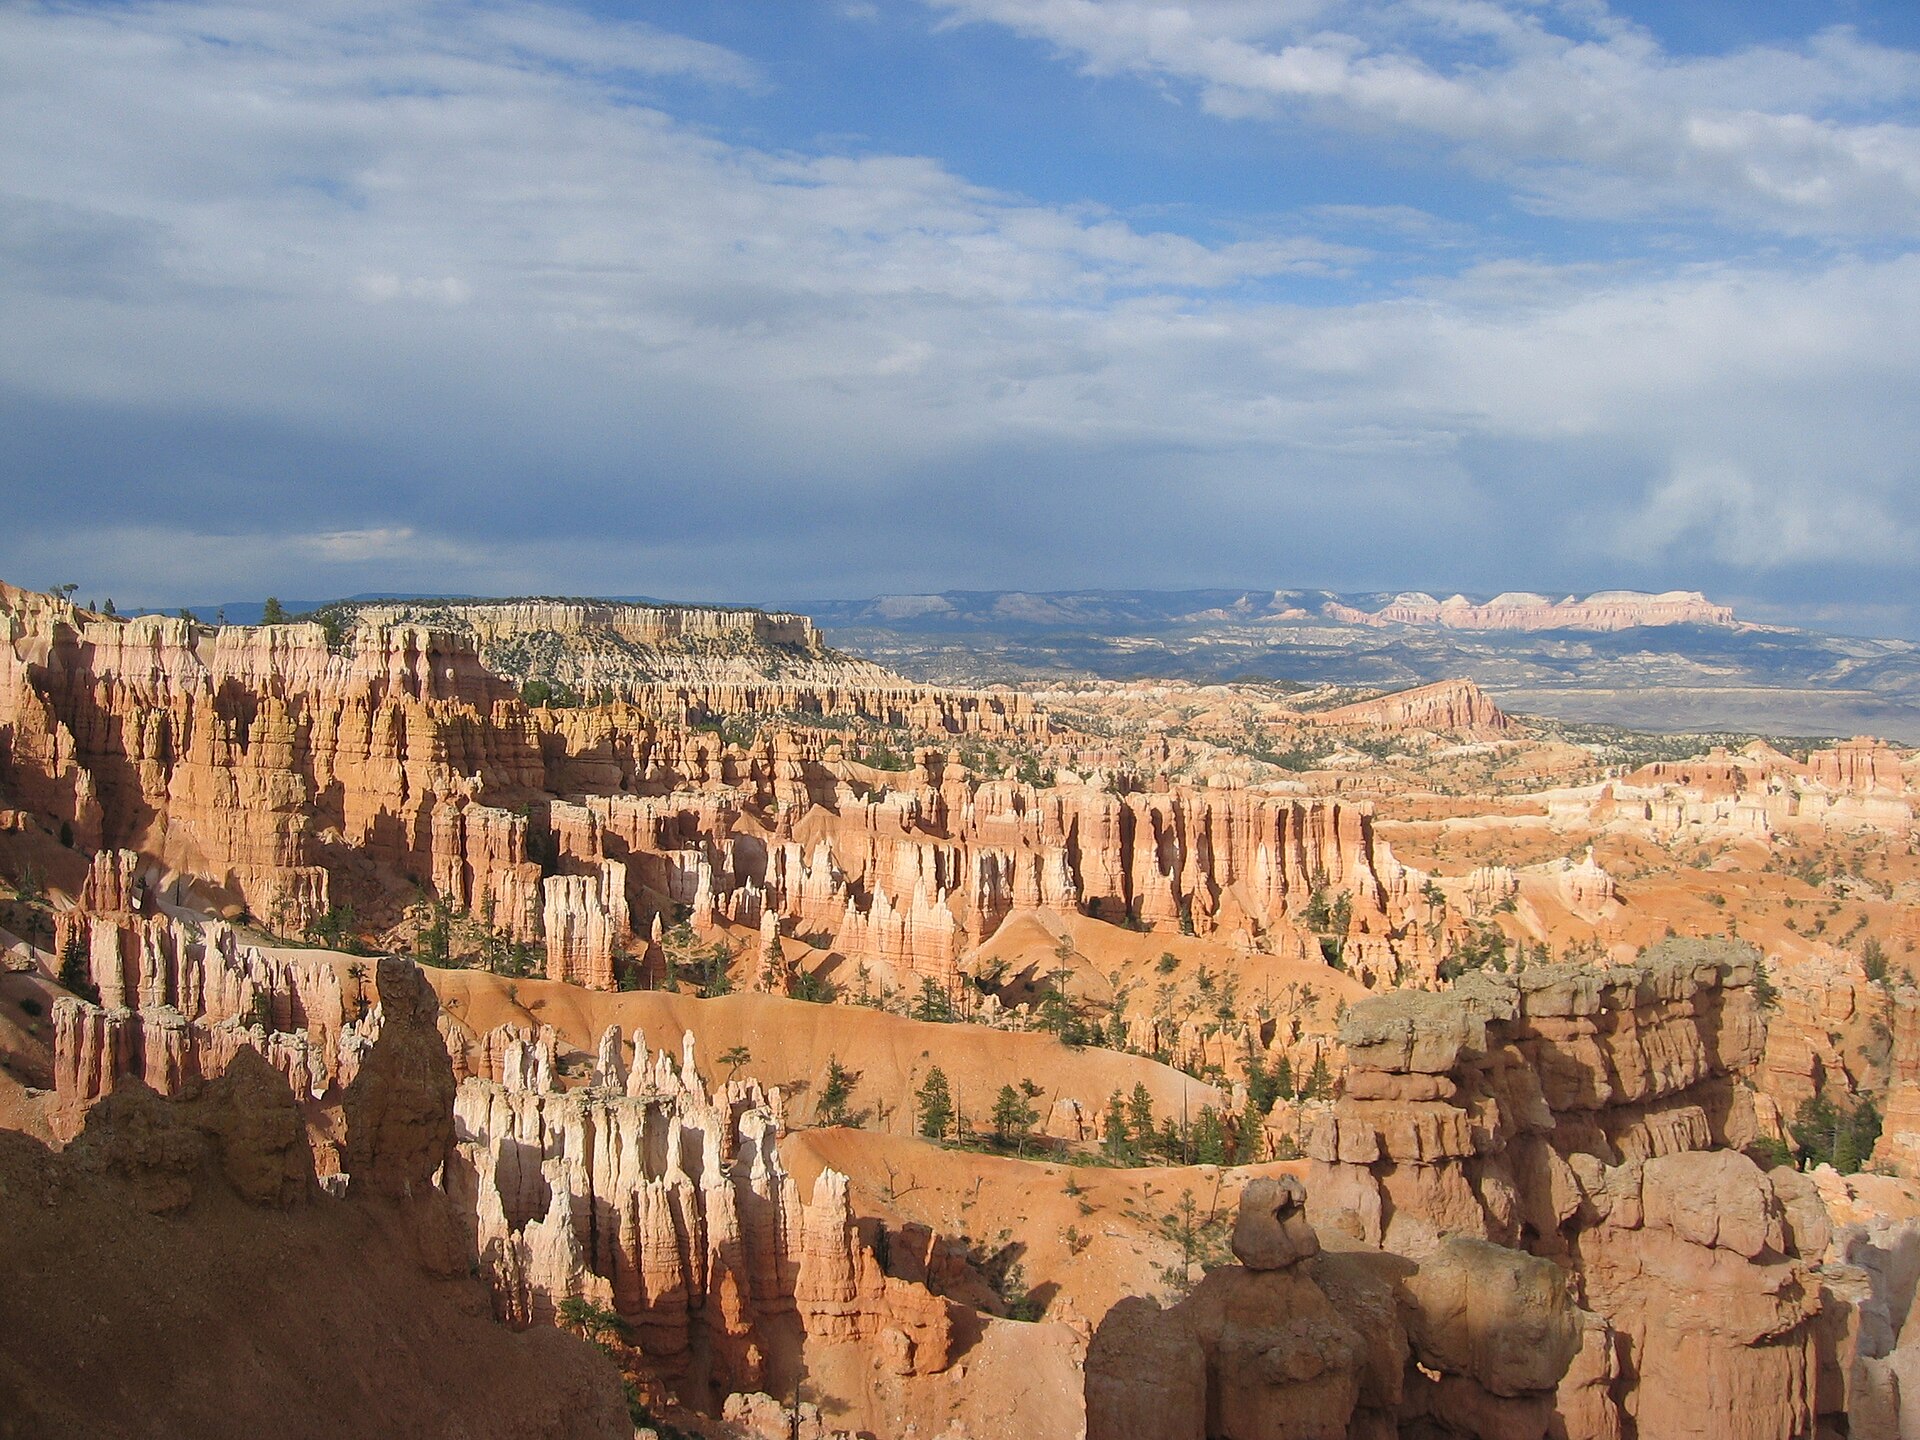
Bryce Canyon is a small park with a surprising number of trails, and the most useful way to sort them is by one question: do you stay on the rim, or do you go down among the hoodoos? This guide explains why that choice shapes everything else, then walks through the main routes from gentlest to most demanding.
- The rim gives you wide views with little effort; the descent puts you among the hoodoos, with a climb back out.
- Light, elevation and season change how a given trail feels, so timing matters as much as the route.
- Two or three linked trails can fill a day if you plan the connections rather than retrace your steps.
Table of Contents
Rim or canyon floor: which Bryce Canyon hikes suit you?
Bryce is not a true canyon. It is a series of amphitheatres cut into the edge of a plateau, and that shape explains how the trails work. On the rim you look down on the formations from above. Below it, you walk between them. The two experiences are different enough that many visitors do both.
The reason the choice matters is the return. Every trail that drops into the amphitheatre has to climb back out, and the descent is the easy part. A path that feels gentle going down can be a slow, steady effort coming up, especially in warm weather or if anyone in your group tires quickly. Reviewers of one popular out-and-back trail make the same point: rated easy on an app, it felt moderate because the way in is all downhill and the way out is all uphill.
If you want views without a climb, stay on the rim. If you want to stand under the spires, choose a descent and budget more time than the distance suggests.
What is the easiest way to see the hoodoos?
The simplest option is the stretch of the Rim Trail between Sunset Point and Sunrise Point. It runs along the top of the amphitheatre on a paved path, and it is closer to a walk than a hike. You still get long views down into the hoodoos, and it works well at sunrise or sunset, when the light is at its best.
Two other easy trails sit away from the main viewpoints:
- Bristlecone Loop. This short loop starts near Rainbow Point, the highest part of the park, and passes some very old trees. The oldest tree in the park is described as about 1,600 years old. Because it is high, it is cooler than the main amphitheatre, and snow can linger into late spring.
- Mossy Cave. At the northern end of the park, this short trail leads to a cave and a small waterfall. It tends to be quieter, and it usually stays open in winter, when the waterfall may be partly frozen.
These routes suit families, anyone adjusting to the elevation, and days when you want a gentle outing rather than a full effort.
How do you go below the rim without a hard day?
Queen’s Garden is the usual first descent. It leads from Sunrise Point down a steep path into the heart of the amphitheatre, where the hoodoos rise around you. Along the way you pass small archways cut through the rock, which makes it enjoyable for children as well as adults. One of the best-known formations here is the Queen Victoria hoodoo, named for its resemblance to a seated figure on a throne.
The trail is often walked as an out-and-back to that formation, but it links easily to other paths to make a loop. A popular combination continues from Queen’s Garden to the Navajo Loop and finishes at Sunset Point. That route passes features such as Thor’s Hammer and the Two Bridges, and it can include Wall Street, the well-known section of switchbacks. After finishing at Sunset Point, you can walk the easy rim path back toward your starting point.
Tower Bridge is a step up in effort. It also begins at Sunrise Point, descends into the canyon, passes the Chinese Wall and ends at a formation some visitors compare to the famous bridge in London. If you have energy left, it can be linked with another trail, or you can simply return the way you came.
Why these trails are good first descents: they are short enough to finish comfortably, they start at viewpoints with facilities, and they let you judge how you feel at altitude before you commit to anything longer.
When are the longer loops worth the effort?
If you want a fuller day below the rim, the usual step is to add the Peekaboo Loop to Queen’s Garden. One trail guide describes the Queen’s Garden Loop as about 3 miles and suggests the Peekaboo addition for a longer, more rewarding day.
The reason to attempt these is the quiet. The short descents near the main viewpoints are popular and can feel busy, while the longer circuits spread people out. The trade-off is time and stamina: you spend more hours in the amphitheatre and face a longer climb at the end.
Before committing, consider a few practical points:
- Carry more water than you think you need, since the dry air and the climb both draw on it.
- Start early so the climb out is not in the heat of the afternoon.
- Check trail conditions in colder months, because reviewers describe snow, ice and mud on some descents.
- Have a map or an offline trail app, as signal can be unreliable.
If you are unsure, do a shorter descent first and decide afterwards. You can always extend the next day.
How do you plan a day without doubling back?
The trails are laid out so that several connect at the rim viewpoints. That makes it possible to build a route around loops rather than out-and-backs. A sensible pattern is to descend one trail, cross the amphitheatre floor and climb out on another, then use the rim path to return to where you began.
Here is a simple way to think about it:
- Choose your hardest hike for the cooler part of the day and keep gentler walks for later.
- Pair a descent with a rim walk, so your legs get a lower-effort finish.
- Use a viewpoint start that suits the light you want. The rim viewpoints are well placed for sunrise and sunset.
- Leave room for a drive on the scenic road to the higher viewpoints and the Bristlecone Loop.
Season changes the plan. The park is open all year but is crowded in summer and around holidays. In winter the crowds thin, though snow will be on the ground, so check current conditions before you set out.
For the practical side of altitude, light and photography, see the related guides on this site about the thin air on the rim, and about photographing the hoodoos. Together with the routes above, they give you enough to build a day that fits your pace.
Related reading
- Tropic, Panguitch and Cannonville: The Base Towns Around Bryce and What Each Is Good For
- Kodachrome Basin and the Grosvenor Arch Backroads: A Day South of Cannonville
Sources
- 14+ best hikes in Bryce Canyon National Park (thatadventurer.co.uk, accessed 2026-11-02)
- Best Hiking Trails in Bryce Canyon National Park – Utah (gaiagps.com, accessed 2026-11-02)
Photo: Bryce Canyon Hoodoos 2, by “Jon Zander (Digon3)”, CC BY-SA 3.0 (Wikimedia Commons)
